
If you are just joining in, click here to learn to make chunky beaded necklaces, and here for the ribbon wand tutorial!
**
When putting together a gift for a little girl, hair accessories are always a GREAT choice! A girl can never have too many! These sweet pinwheels are perfect for Spring! They are so darling; I think you’ll be surprised just how EASY they are to make! {Seriously, 5 simple steps, that’s all!} Did I mention they cost less than $1 to make?

Here we go…
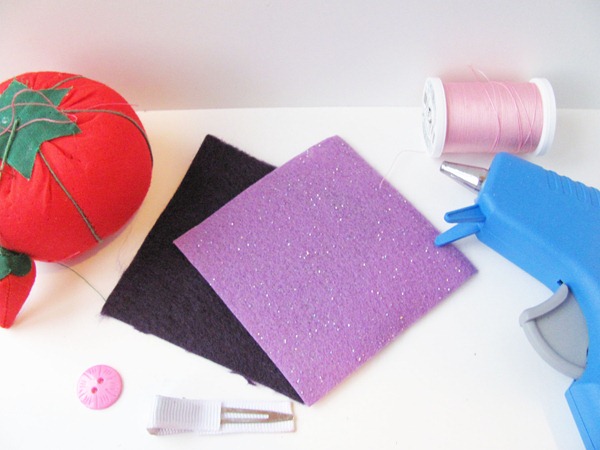
Supplies:
Two 3x3 squares of felt (Each pinwheel uses two different colors—I purchased 9x12 sheets of craft felt for .25 at HobLob)
Hand sewing supplies (Needle, Thread, Scissors)
1 Button
1 blank hair clip
Hot glue gun
Instructions:
Step 1: Starting at each corner, cut 1.5” slit towards the center of each 3x3 felt square. Stack your felt pieces – the color on the top of the stack will become the interior color and the piece on the bottom will be the exterior color.

Step 2: With your hand sewing needle threaded, push the needle through the bottom center of your stack and up through each folded corner. (*Every other corner will be folded)


Step 3: Once all four corners are secured, sew the button on to the top center of your pinwheel.
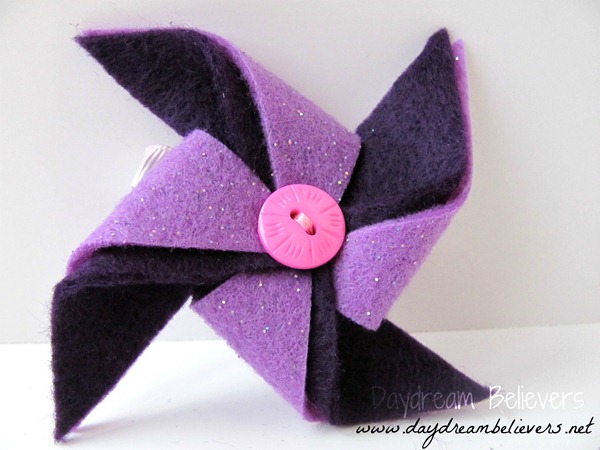
Step 4: Using your hot glue gun, attach the pinwheel onto your hair clip and voila’, that’s it mumma! :)

* If you want to make this easy project even easier, you can totally skip the sewing all together and just hot glue that whole thing! It will still look just as cute and you will save yourself a little time. I won’t tell! ;)

Go on friends, get craftin’! These little lovelies will be SO sweet in your little queen bees’ Easter Basket!
If you make one (or a dozen, bc seriously, these are addicting!) I’d LOVE to see! Please share a picture on the Daydream Believers Facebook Page!

I have always wanted to make fabric pinwheels. Felt is a great choice.
ReplyDelete